After clicking Select corresponding to the desired report, on the Report Selection page, it opens the Report Submission page, as displayed by the image below;
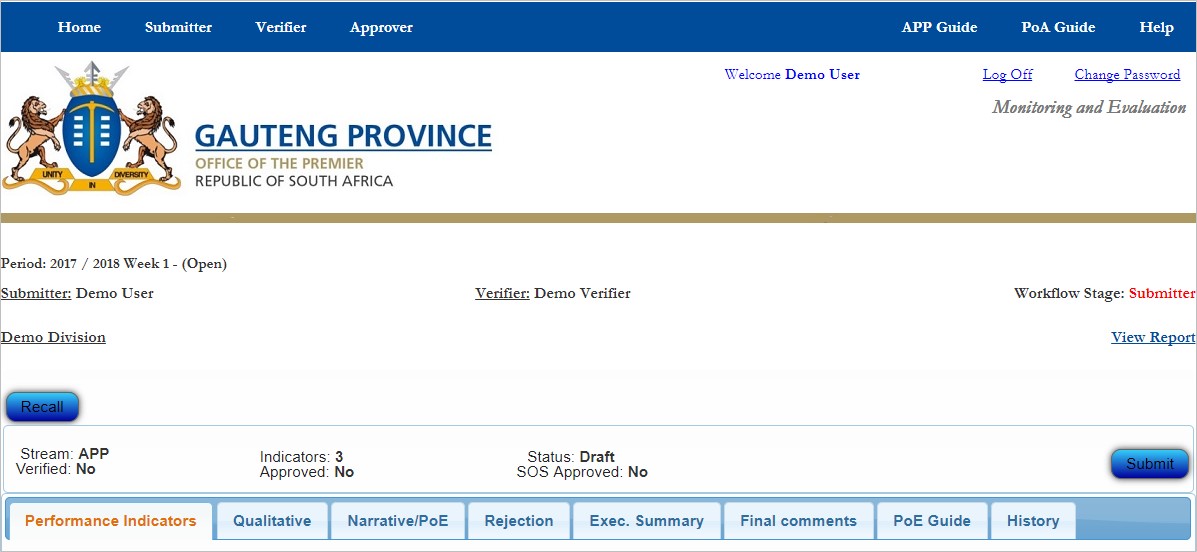
The Report Submission page contains the following items;
- The current open reporting Period
- The report's Submitter
- The Submitter's Verifier
- The report's current Workflow Stage
- The reporting Division or Unit that is reporting. In the above case the reporting unit is Demo Division
- The "View Report" link that opens the current period's report copmiled by the system for your branch. Clicking the View Report link opens the login page in SAP Business Objects, where the report for your branch is compiled and stored. to log in, the login name is oopuser, and the password is oopuser (in small letters)
- The Recall button that is used to recall a report that is in the next workflow stage after your current workflow stage - e.g.,
- a Submitter may only recall a report that is at the Verifier workflow stage,
- a Verifier may only recall a report that is at the Approver workflow stage,
- and an Approver may only recall a report that is at the SOS workflow stage.
- The Stream to which the indicators in the report belong. In the above case the indicators in the report belong to the APP Stream
- The number of Indicators contained in the report
- The report's current Status. In the above case the report is in Draft status, meaning that it has not yet been submitted. At the Submitter workflow stage you only get reports that are in Draft status or in Rejected status
- The approval statuses, indicating whether the report has been Verified, Approved, or SOS Approved
- The Submit button which you click after you have captured all the required information for the current report
Below this area is a series of eight tabs where various types of data is captured. The tabs work as follows;
The Performance Indicators tab
The image below displays the Performance Indicators tab;
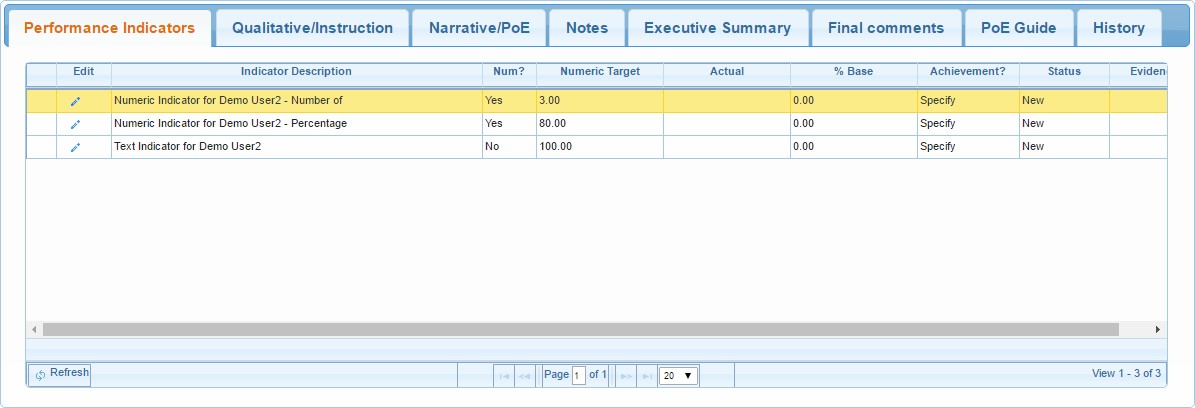
The Performance Indicators tab is a grid that contains all the indicators in the report
To start capturing here, first select the indicator you want to work on (as described in the Indicator Description field/column in the image above) by simply clicking anywhere on the row that contains the desired indicator. The selected indicator row then turns orange in colour. Then;
- Go to the first field on the grid - the Edit field. Click on the Edit
 button, which when clicked changes into two buttons, the Save
  button and the Cancel Edit
  button. After clicking the Edit button, the Actual field, the % Base field and the Status field become editable, and you may capture as follows;
- The Actual field (Verifiers and Approvers have permission to change the results captured here, at their respective workflow stages)- here you capture the achieved Numeric results for Numeric indicators, and the performance rating for Text indicators
- The % Base field (Verifiers and Approvers have permission to change the results captured here, at their respective workflow stages) - here you capture the denominator you used when you were calculating the achieved percentage. The % Base field is populated for Percentage indicators only
- The Status field - here you decide whether you approve or reject the performance results captured. The Submitter role does not have permission to capture in this field
- After capturing the required results, go back to the Edit field and click the Save button to capture your input
- The Indicator Description field - when you cannot see the full indicator description, just hover/place your mouse pointer above the indicator description (without clicking) and the full description will be shown
- The "Num?" field tells you whether the indicator is Numeric or Text (click here for further explanation)
- The Numeric Target field is the indicator's numeric target for the current reporting period.
The Qualitative tab
The image below displays the Qualitative tab;
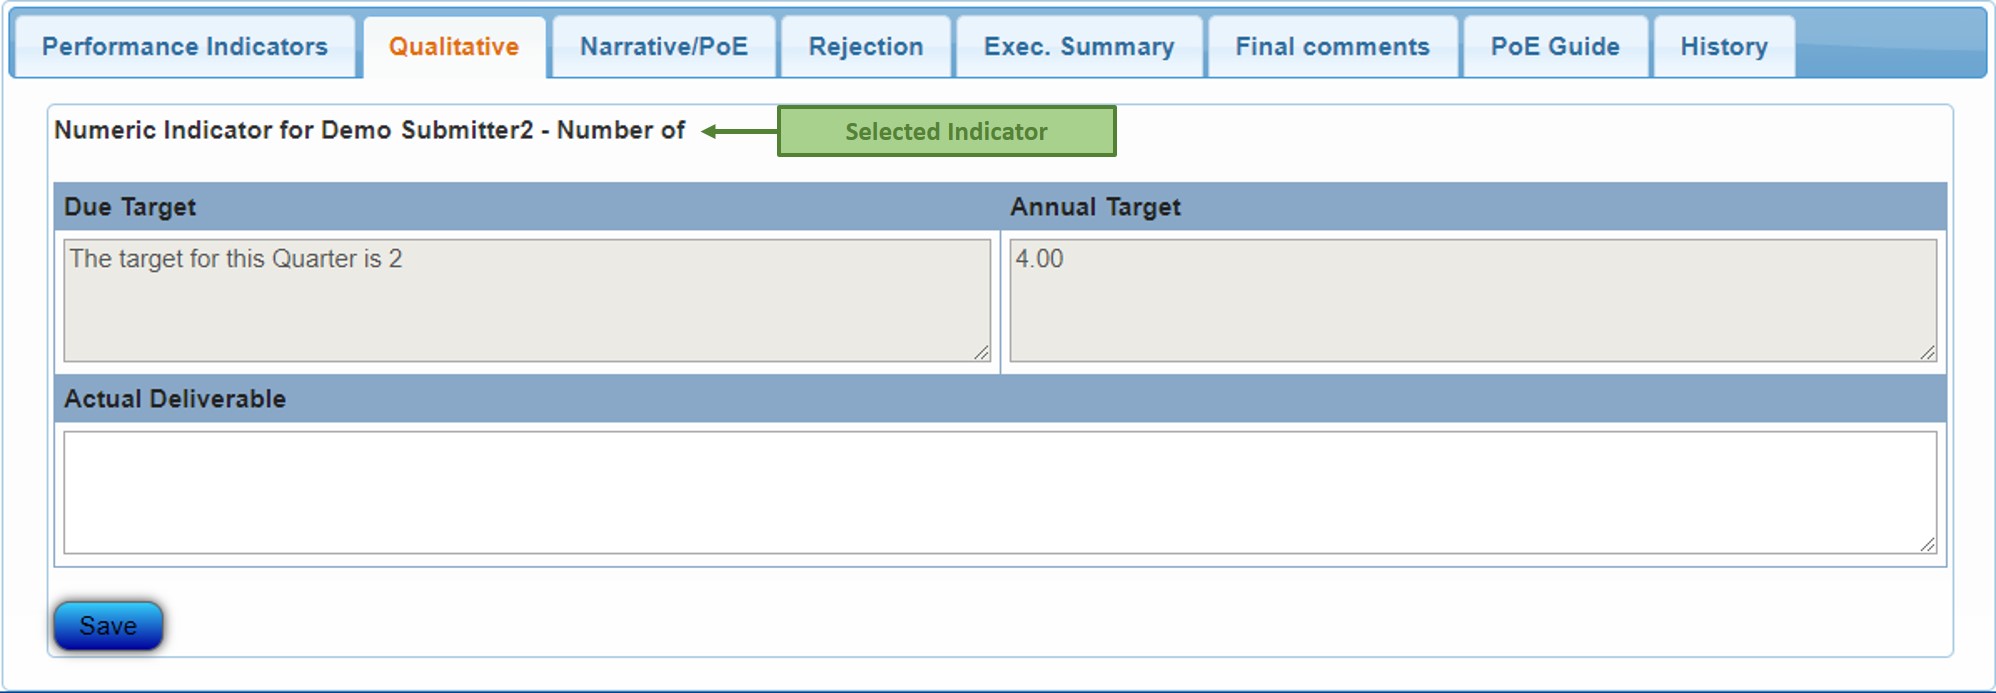
The Qualitative tab has three text boxes, as displayed in the image above. To work on an indicator in the Qualitative tab, first select the desired indicator from the Performance Indicators tab
The Due Target text box is a read only text box that displays the text target for the current reporting period for the selected indicator.
The Annual Target text box is also a read only text box that displays the annual target for the selected indicator.
The text box below is the Actual Deliverable text box. This is where you put in the indicator performance results in text/words.
- It is compulsory to populate the Qualitative Performance text box for Text indicators.
- Verifiers and Approvers also have permission to give input/make amendments in the Notes and the Qualitative Performance text boxes
- The Notes and the Qualitative Performance text boxes allow a maximum of 2000 characters
After giving your input in the Actual Deliverable text box, click Save, to capture your input
The Narrative/PoE tab
The two images below display the Narrative/PoE tab. The first image displays the Narrative/PoE tab when the selected indicator's target is achieved or over achieved;
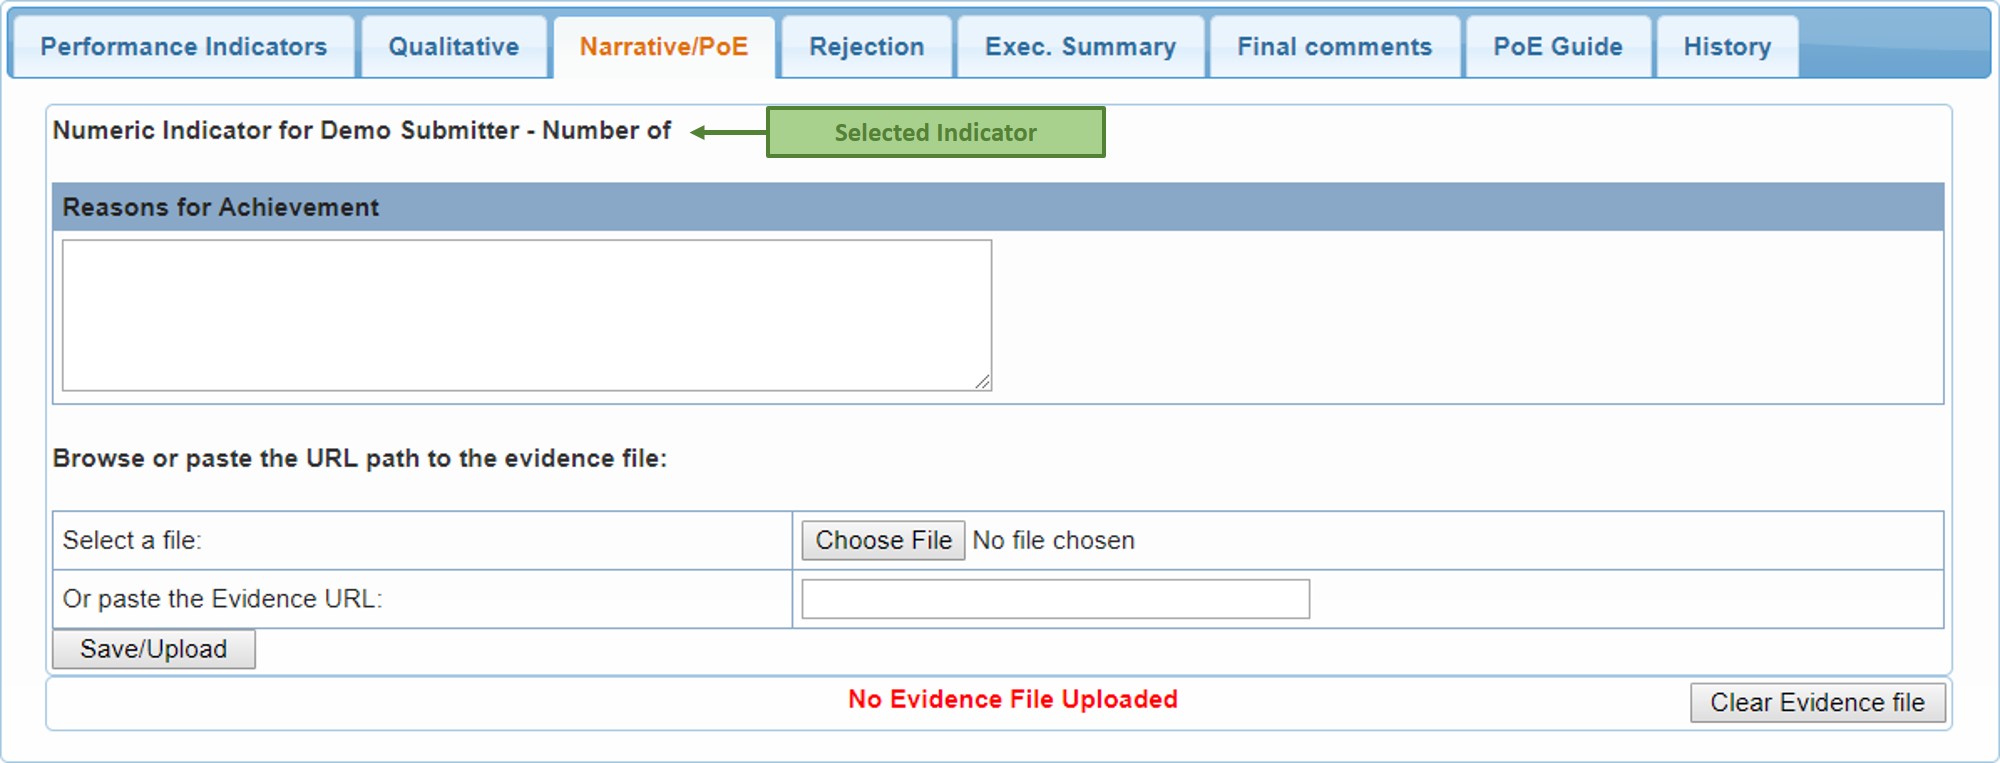
When the target is over achieved, the system automatically opens the Narrative/PoE tab immediately after you save the Numeric Actual in the Performance Indicators tab, as displayed above. Just below the selected indicator description is the Reasons for Achievement text box. Here you must explain how or why the target was over achieved.
For an indicator whose Numeric Actual is equal to the Numeric Target, i.e., just achieved, it is optional to explain why or how the target was achieved, and therefore the system does not automatically open the Narrative/PoE tab after you have saved the Numeric Actual. You must then open the tab yourself to supply the explanation.
The second image below displays the Narrative/PoE tab when the selected indicator's target is not achieved;
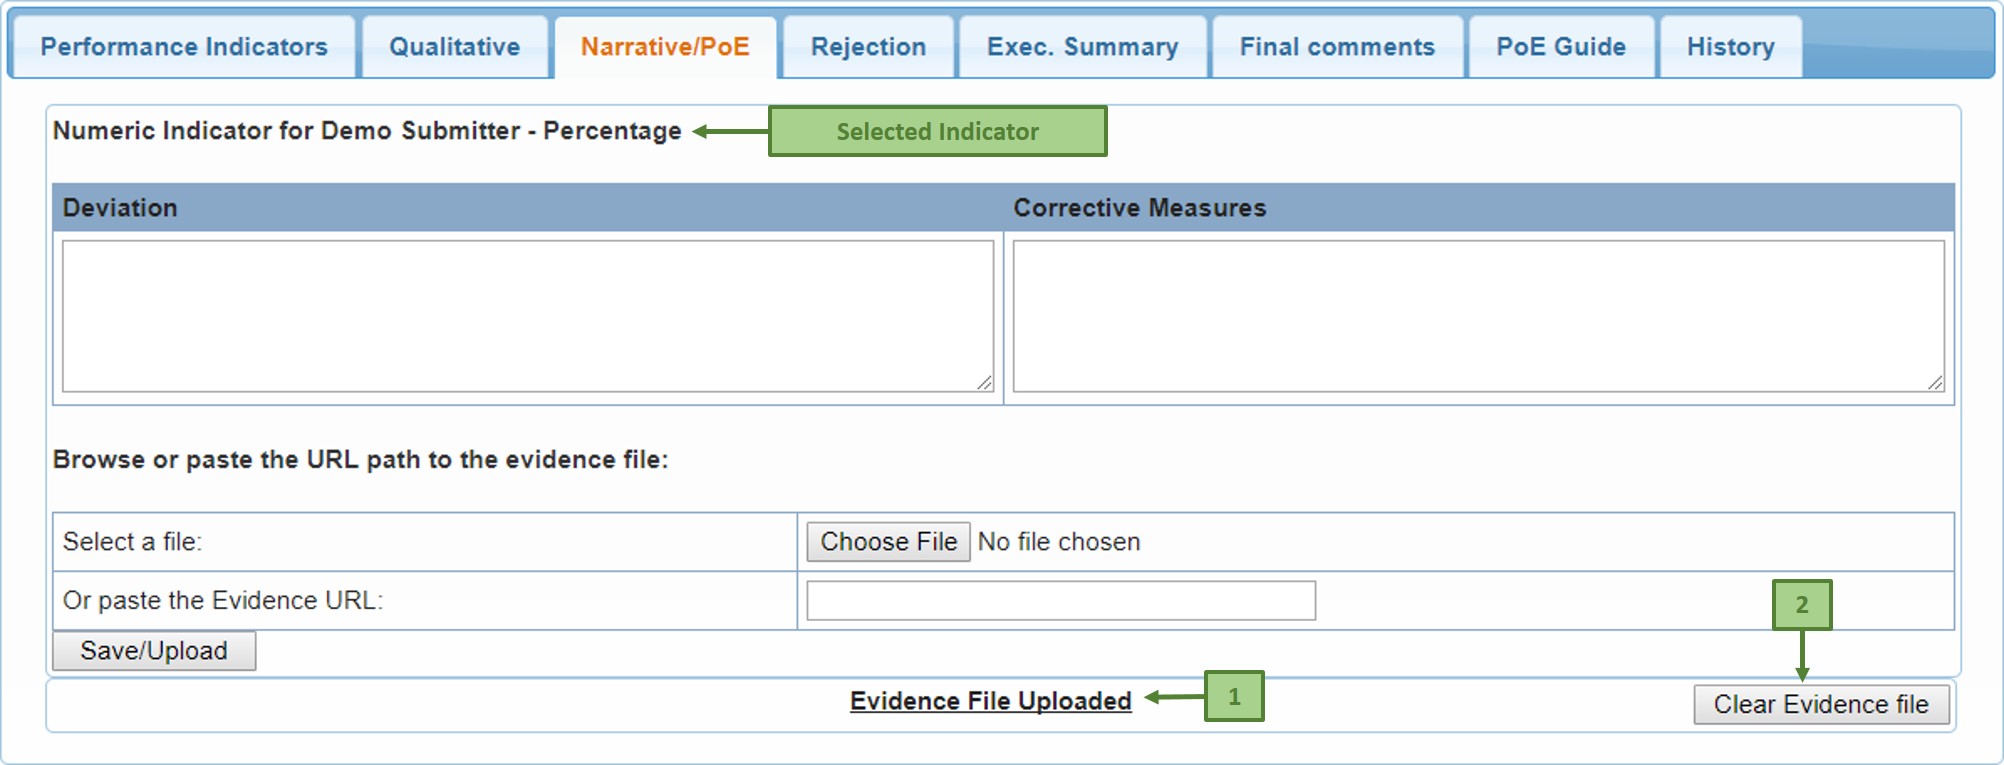
When the target is not achieved, the system once again automatically opens the Narrative/PoE tab immediately after you save the Numeric Actual in the Performance Indicators tab, as displayed above. Just below the selected indicator description are the Deviation and the Corrective Measures text boxes. In the Deviation text box you must explain how or why the target was not achieved. In the Corrective Measures text box you must supply the suggested corrective measures to improve the performance results.
To upload an evidence file, simply click the Choose File button, then in the pop-up window that appears, navigate to the evidence file location and select the evidence file (by double-clicking on it, or by clicking on it and clicking the Open button ).
If the evidence file is located in the web - e.g., in Dropbox, simply copy the file link/url and paste it in the URL field, just below the Choose File button. After uploading the evidence file, that gets displayed by "Evidence File Uploaded" at the bottom part of the page - label 1 above. This is also a link that opens the uploaded file. When there is no evidence file uploaded, this displays "No Evidence File Uploaded" in bold red
You may also remove the evidence file by clicking the Clear Evidence file Button - label 2 above
- You can only upload one file per indicator. However, if you have more than one file to upload, first put the files in the same folder, then zip them, and then upload the zip file
- Verifiers and Approvers also have permission to give input/make amendments in the Narrative/PoE tab, including uploading the evidence file(s)
- Each text box allows a maximum of 2000 characters
When you have supplied all the required input for this tab, click the Save/Upload button to capture your input
The Rejection tab
The image below represents the Notes tab;
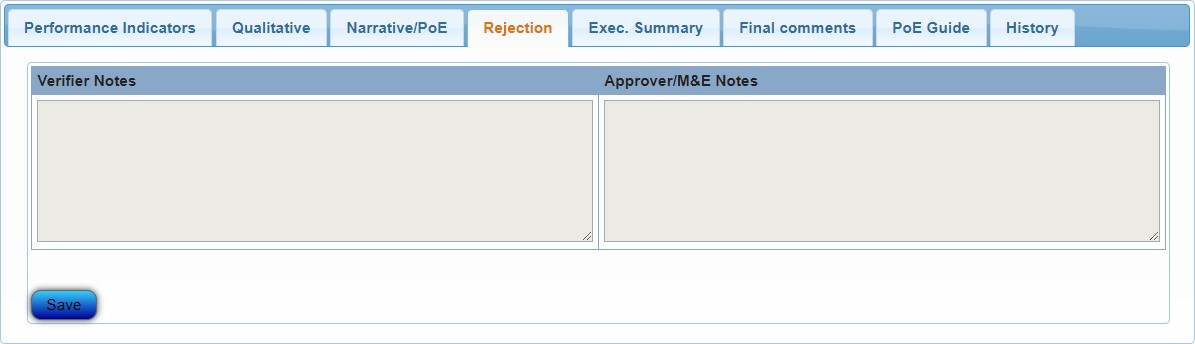
The Rejection tab is where the Verifier and the Approver put in their rejection reasons when they reject a report. At the Verification workflow stage, the Verifier Notes text box (1 above ) is enabled, and the Approver/M&E Notes text box (2 above ) is disabled and grayed out, and it's vice versa at the Approver and the SOS workflow stages.
When the Verifier or Approver rejects one or more indicators in the Performance Indicators tab, the system will not allow them to submit without supplying the rejection reason(s) in the Rejection tab.
After supplying your rejection reason(s) in the relevant text box, click Save to capture your input
The Executive Summary tab
The image below displays the Executive Summary tab;
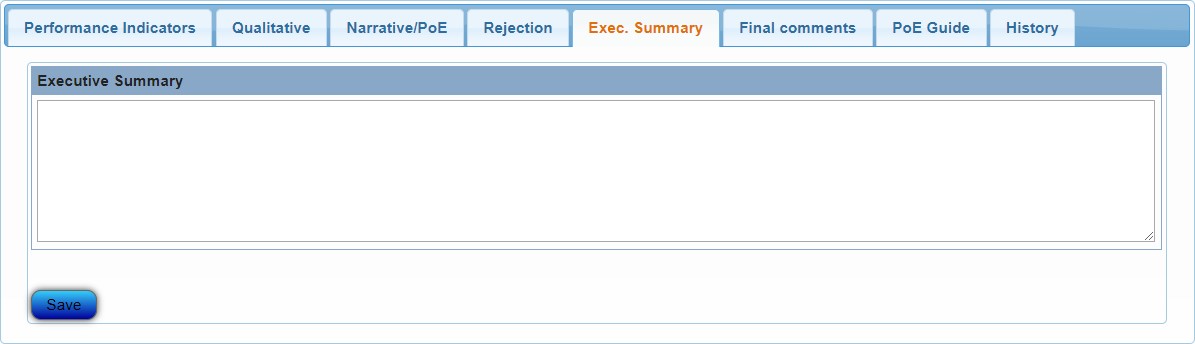
This is where the you supply the executive summary, in the Executive Summary text box displayed in the image above. The Executive Summary text box takes up to 6000 characters.
After supplying the Executive Summary, click Save to capture your input
The Final Comments tab
The image below represents the Final Comments tab
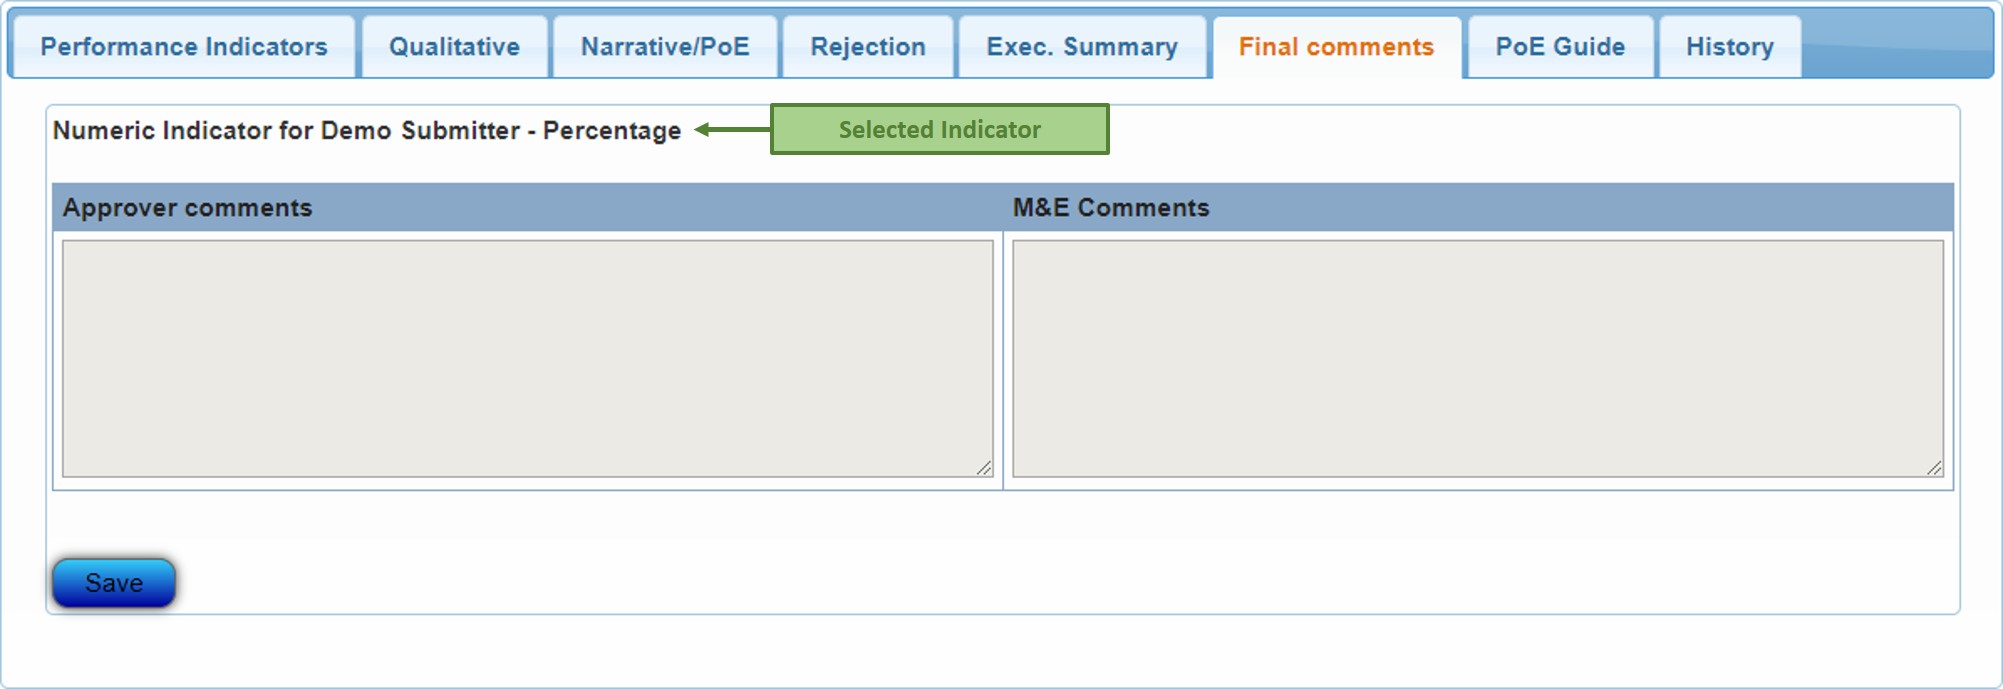
The Final Comments tab is where the Approver and the SOS team put in their final comments, if any, regarding the selected indicator. At the Approver workflow, only the Approver Comments text tab is enabled, and at the SOS Approval workflow stage only the M&E Comments text box is enabled, for the respective users to provide their input.
The PoE Guide tab
The image below represents the PoE Guide tab;
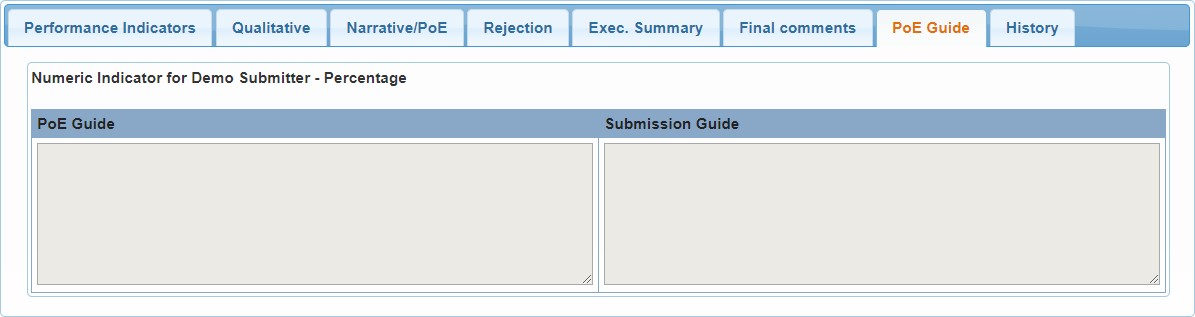
As displayed in the image above, the PoE Guide tab contains two read-only text boxes, the PoE Guide text box and the Submission Guide text box
- the PoE Guide text box contains information that gives guidance as to what to upload as evidence for the selected indicator
- the Submission Guide text box contains information on how to report the performance results for the selected indicator
The History tab
The image below represents the History tab;

As displayed by the image above, the History tab displays the selected indicator's performance history up to two fiscal years back.
It displays the Numeric Actual and the Actual Deliverable - performance results in text - for each reporting period in the past, up to the current reporting period.
The History tab also contains the link that opens the Evidence File that was uploaded for the selected indicator - "View PoE".